I’ve been playing with a Raspberry Pi for a while, and I’m getting fed up with changing the input to my monitor and using a second keyboard/mouse (yeah, yeah, 1st World Problem I know). I decided to set up a remote screen share so I can share the screen. This means I can use the same monitor/keyboard/mouse that I use for my Mac, but it also means I can un-cable myself and use my Pi from anywhere in the house, and even grab screenshots - useful for some upcoming blog posts I’m planning.
As it turns out, it’s really simple to get this set up.
Configure the Pi
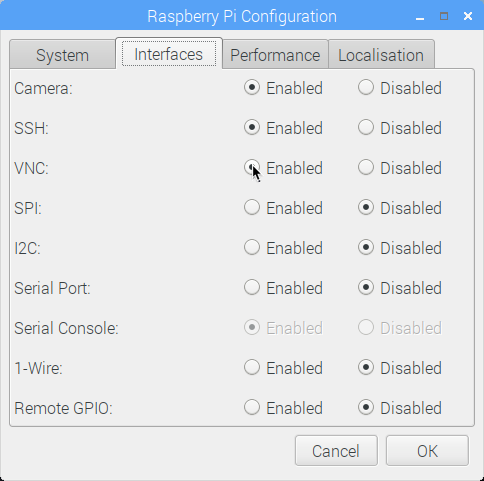
Start by enabling VNC on the Pi. To do this, click the Raspberry Menu and select Raspberry Pi Configuration. From the configuration tool, select the Interfaces tab, then check the Enabled option next to VNC. Click OK, then restart the Pi when prompted.
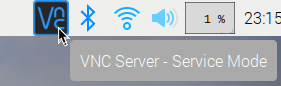
Once the Pi reboots, you need to configure VNC. Click the VNC icon in the menu bar.
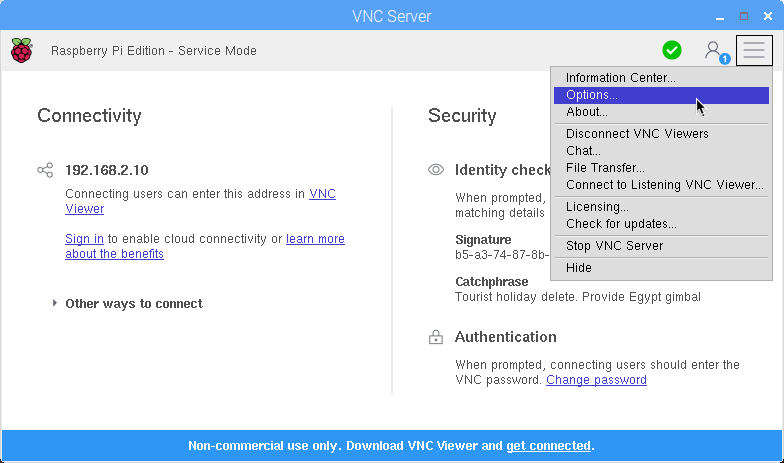
This will launch the VNC Server tool. Click the hamburger and select Options.
In the Security tab, set the Encryption to Prefer off and the Authentication to VNC Password.

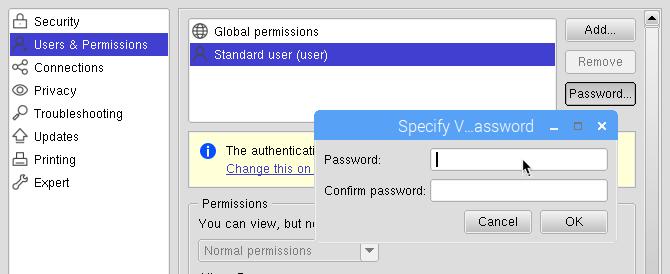
In the Users & Permissions tab, select the Standard user (user), and click the Password… button. Set the password then click OK, then click OK.
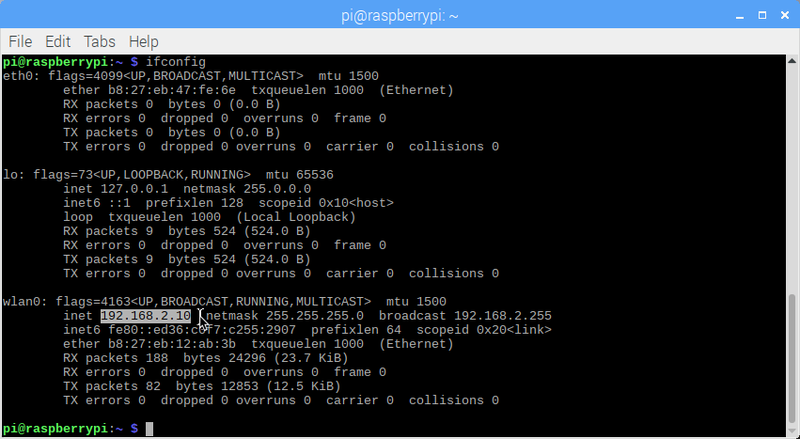
Finally you need the IP address of the Raspberry Pi. Launch a terminal, and type ifconfig. Find the inet address from wlan0 and note this down.
Connecting from the Mac
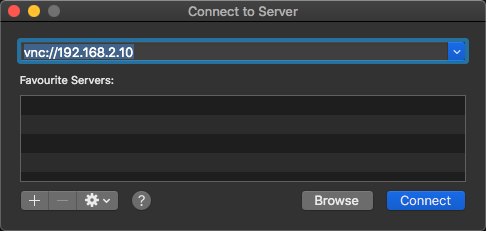
To connect from the Mac, open Finder, then select Go -> Connect to server…. Enter the address as vnc://<ip address of the Pi>, for example vnc://192.168.2.10. Click Connect.
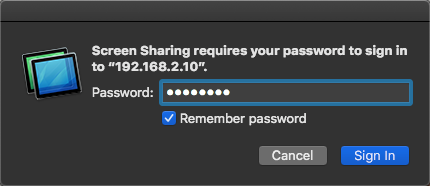
You will be prompted for a password. Enter the password you set up for your VNC standard user and check the box to remember this password. Click Sign In.
Screen sharing will launch, showing your Raspberry PI desktop!