I was at a recent Reading .NET Meetup, and wanted to record the event to make it available to members of the group who couldn’t attend the event in person. This is part of my aim to make meetups more accessible.
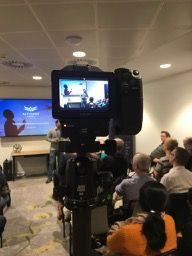
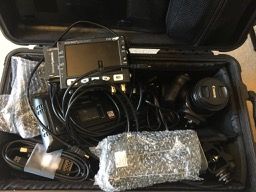
We have a cool box of recording git, courtesy of the Channel9 team at Microsoft, including a Canon XC10 camera. This camera records using the Canon MXF format, a propriety format that doesn’t work with my video editing app of choice, Camtasia. I also made a basic video recording error, I recorded the video at 30fps, and the audio using a separate recorder at 60fps!
This needed to be fixed - I needed to align the frame rates, and convert the MXF files to MP4 to work with Camtasia. And this is where Azure Media services comes in.
Azure Media Services is a suite of services that can encode and stream media. You create a media services resource, then you can use it to encode video either via the portal, or via the SDK.
Getting started
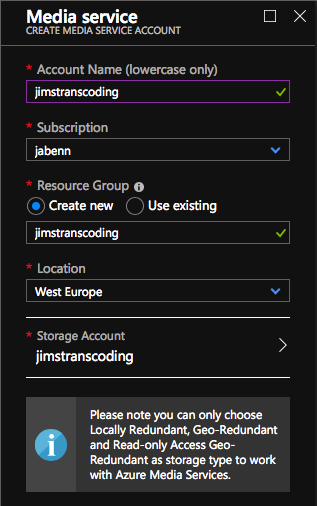
The first thing to do is to launch the Azure Portal and create a Media Service resource.
Once created, upload an asset - a video file to encode. From the Media Service resource, go to the Assets tab and select Upload. Point it to your .MXF file and it will start uploading. You can upload more than one file at once if needed.

Video files are huge - my smallest one was 6GB, so it takes a loooooooong time to upload if like me you have crappy bandwidth. Don’t let your computer go to sleep as this interrupts the upload and you have to delete the asset and start again.
Once uploading starts, you will be able to see the video file in the Assets tab. To encode it in the correct format, select the video file, then select encode.
From the Encode an asset tab, select the preset you want to use. The default is Content Adaptive Multiple Bitrate MP4, which provides adaptive streaming, changing the bitrate to match the streaming speed. This is great for content published on the net where viewers will be streaming it using different download speeds, but not so great for just re-encoding to bring into a video editing tool. Select an appropriate preset - I went for H264 Single Bitrate 1080p as I just want the highest bitrate and full size video. You can encode a video that is uploading - it will just queue the encoding job until the video is fully uploaded.
Again, this will take a long time!
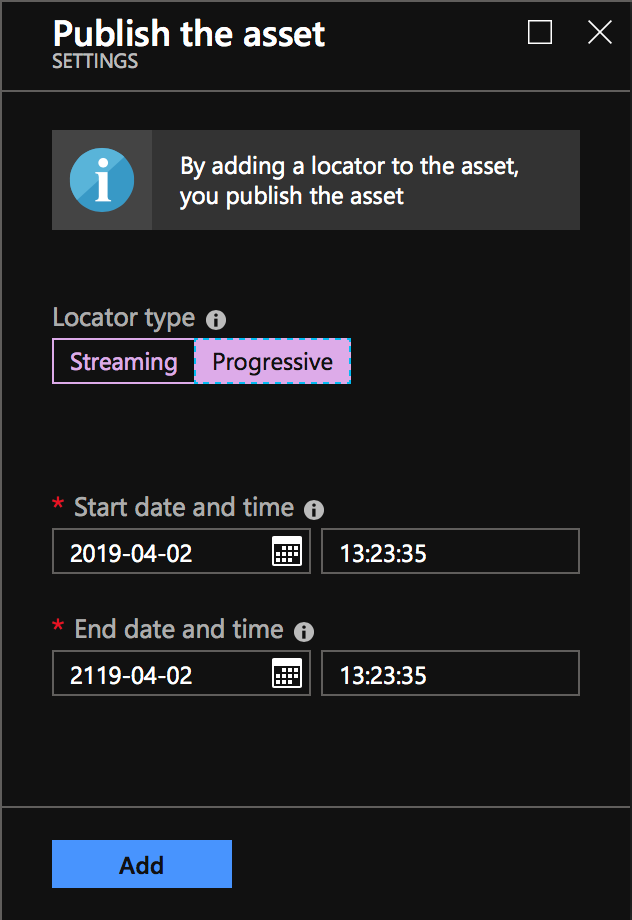
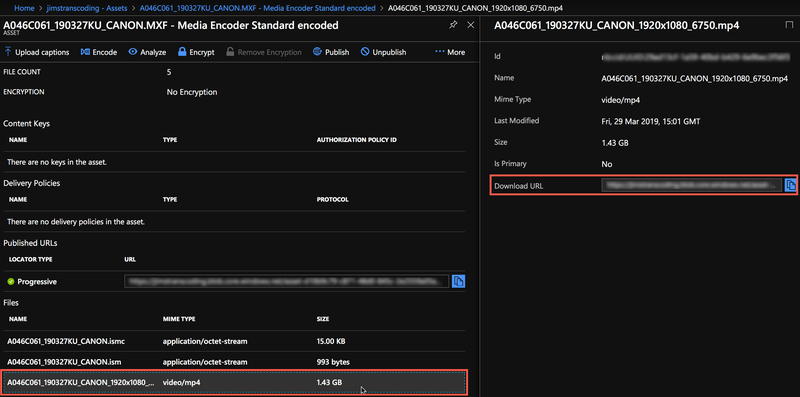
Once the job is complete, head to the Assets tab and select the encoded asset. Before you can download the video file you need to publish the asset using a progressive encoder. Click the Publish button, set the encoder as Progressive and click Add.
The files for the asset wil be listed at the bottom, and one file will be a video/mp4 file. Select this file, and the details on it will expand out the side, including a download link. Use this link to download the encoded file.
Done! You can now import this file into tools like Camtasia.