A Geofence is a virtual boundary defined using an area on a map. Azure Maps has tools for checking if a coordinate is inside that Geofence. This post looks at how to do these checks.
There are many use cases for tracking where an item is, and if it moves into or out of a defined location. One great example is legal compliance - for example has an asset crossed an international or state boundary, is a vehicle on roads that require road tax to be paid (for example New Zealand’s RUC) or is a ship near a port.
One use case I’ve been thinking about recently is wildlife tracking. I’m building a sample app that can be used to track animal sightings including a GPS device that could be attached to an animal to provide 24/7 tracking (I’m not really going to put it on a real animal, this is just for demo purposes, so will be using a plushie bear). As well as knowing where an animal is, it would also be good to have an alert if the animal enters certain areas, for example if a bear goes near a center of population. This post shows how to create and check geofences using Azure Maps.
Getting started
- Start by signing up for Azure if you don’t have an account:If you are a student, sign up at azure.microsoft.com/free/students to get US$100 of free credit and free services for a year.Otherwise sign up at azure.microsoft.com/free to get US$200 of credit for 30 days and a year of free services.
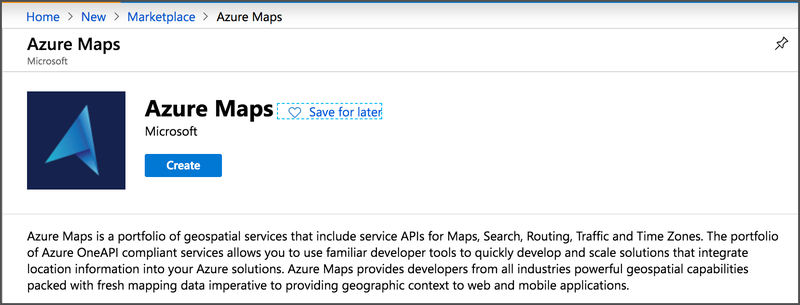
- Sign into Azure and create an Azure Maps resource by following this link.
Defining a Geofence
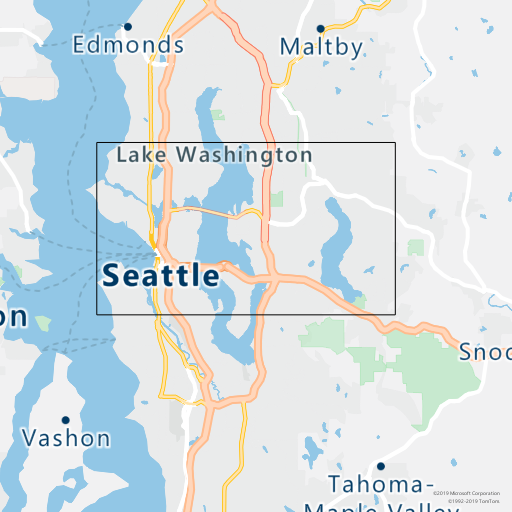
Once you have an Azure Maps resource you need to define a geofence. These are defined using GeoJSON - a JSON document designed for geographic information. TO create a simple geofence for the Seattle/Redmond area, you would define it like this:
{
    "type": "Feature",
    "properties": {
       "geometryId": "1"
     },
    "geometry": {
        "type": "Polygon",
        "coordinates": [
            [
                [
                    -122.41864, 47.54548
                ],
                [
                    -122.41864, 47.70502
                ],
                [
                    -122.00867, 47.70502
                ],
                [
                    -122.00867, 47.54548
                ],
                [
                    -122.41864, 47.54548
                ]
            ]
        ]
    }
}
This defines a geometric feature, that is a polygon using the coordinates given, with the last coordinate being the same as the first to close the shape - in this case a rectangle.
You can do a lot with GeoJson, and you can read more in the GeoJSON docs.
To set the geofence, you need to send this JSON to a call to the Azure Maps REST API. There aren’t any SDKs available for this service yet, but hopefully should be some soon.
Uploading a geofence needs a couple of calls - you make one call to upload which returns an endpoint that stores the data, then you call that endpoint to get back an Id you use to access the geofence from later calls.
The first REST call is:
https://atlas.microsoft.com/mapData/upload?
        subscription-key={subscription-key}
        &api-version=1.0
        &dataFormat=geojson
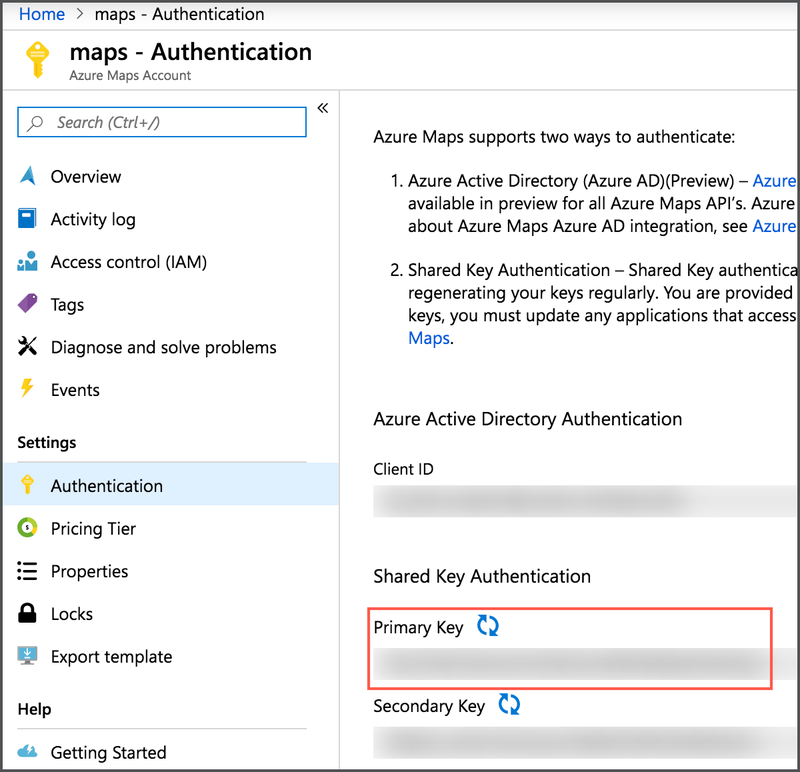
You will need to replace {subscription-key} with your primary or secondary key from the Shared Key Authentication section of the Settings -> Authentication tab in the map blade in the Azure portal.
The body of the request will need to be set to application/json and contain the GeoJSON for your geofence.
When you call this end point you should get back a status of 202 - Accepted. In the headers will be a Location containing an end point to call to get the Id of the geofence.

To get the Id, call the Location endpoint, adding your subscription key as an additional parameter:
https://atlas.microsoft.com/mapData/{location}/status?api-version=1.0
        &subscription-key={subscription-key}
This will return a status of 201 - Created, with a body containing a JSON document with a single field - "udId", the unique Id of the geofence.
Testing if a coordinate is in the geofence
The purpose of a geofence is to know when something goes in or out of it. This is done by making a call to another REST API, giving it the udId of the geofence, and the latitude and longitude of the coordinate you want to check.
https://atlas.microsoft.com/spatial/geofence/json
        ?subscription-key={subscription-key}
        &api-version=1.0
        &udId={udId}
        &lat={latitude}
        &lon=-{longitude}
        &deviceId={device-id}
In the above call replace {subscription-key} with your Azure Maps shared access key, {udId} with the udId from the second REST call, {latitude} and {longitude} with the latitude and longitude of the coordinate you want to check. The final parameter you need to set is {device-id}, and this needs to be set to an Id for the device that the coordinates come from. This device id doesn’t seem to be used for anything, so can be set to whatever you want, but it must be set otherwise you get an error.
The result of this call is a JSON document containing details about the location of the coordinates relative to the geofence.
{
  "geometries": [
    {
      "deviceId": "device",
      "udId": "xxxxxxxxx",
      "geometryId": "1",
      "distance": -999.0,
      "nearestLat": 47.54548,
      "nearestLon": -122.2
    }
  ],
  "expiredGeofenceGeometryId": [],
  "invalidPeriodGeofenceGeometryId": []
}
This JSON document returns the device and udId values passed in, useful if you want to pass this on to some form of notification system. It also gives a distance and the nearest latitude and longitude.
One thing to be aware of is GPS is not always exact - although calculations can be exact, coordinates are not always totally accurate. GPS sensors are at best accurate to a few meters, so a device could be inside the geofence but detected outside. The distance value takes this into consideration:
- Positive distance values are outside the geofence, negative are inside.
- If the location is within a short distance (default of 50m and referred to as a search buffer) of the edge of the geofence, the
distancewill be the distance to the geofence in meters. - If the device is further away from the edge, the value will be
999if outside,-999inside. - The search buffer can be configured in the REST call by setting the
searchBufferparameter to a value in meters from0to500. If this is not set, the default of 50m is used.
When triggering alerts based off being close to the edge of a geofence you should take other information into consideration - for example if the GSP sensor is on a road going device, is the nearest road inside the geofence?
The nearestLat and nearestLon values give the point on the geofence that is nearest to the device - useful for example if you are tracking animals in an enclosed space, this might be where there is hole in the fence!
Learn more
If you want to learn more, check out these links: